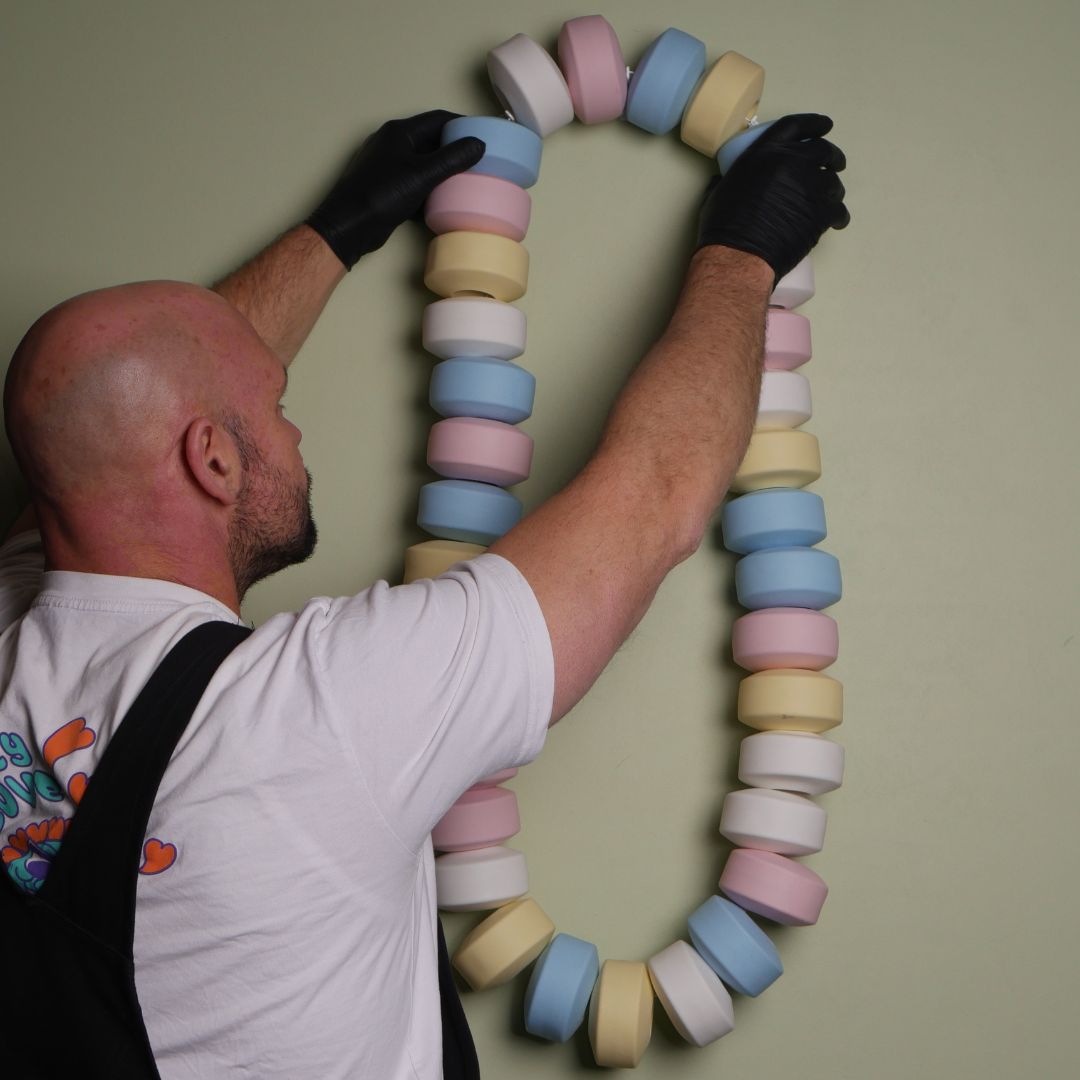
How to Install
Candy Necklace
What you'll need
Candy Necklace hanging kit & template, Phillips screwdriver
Hanging kit and template included with your piece
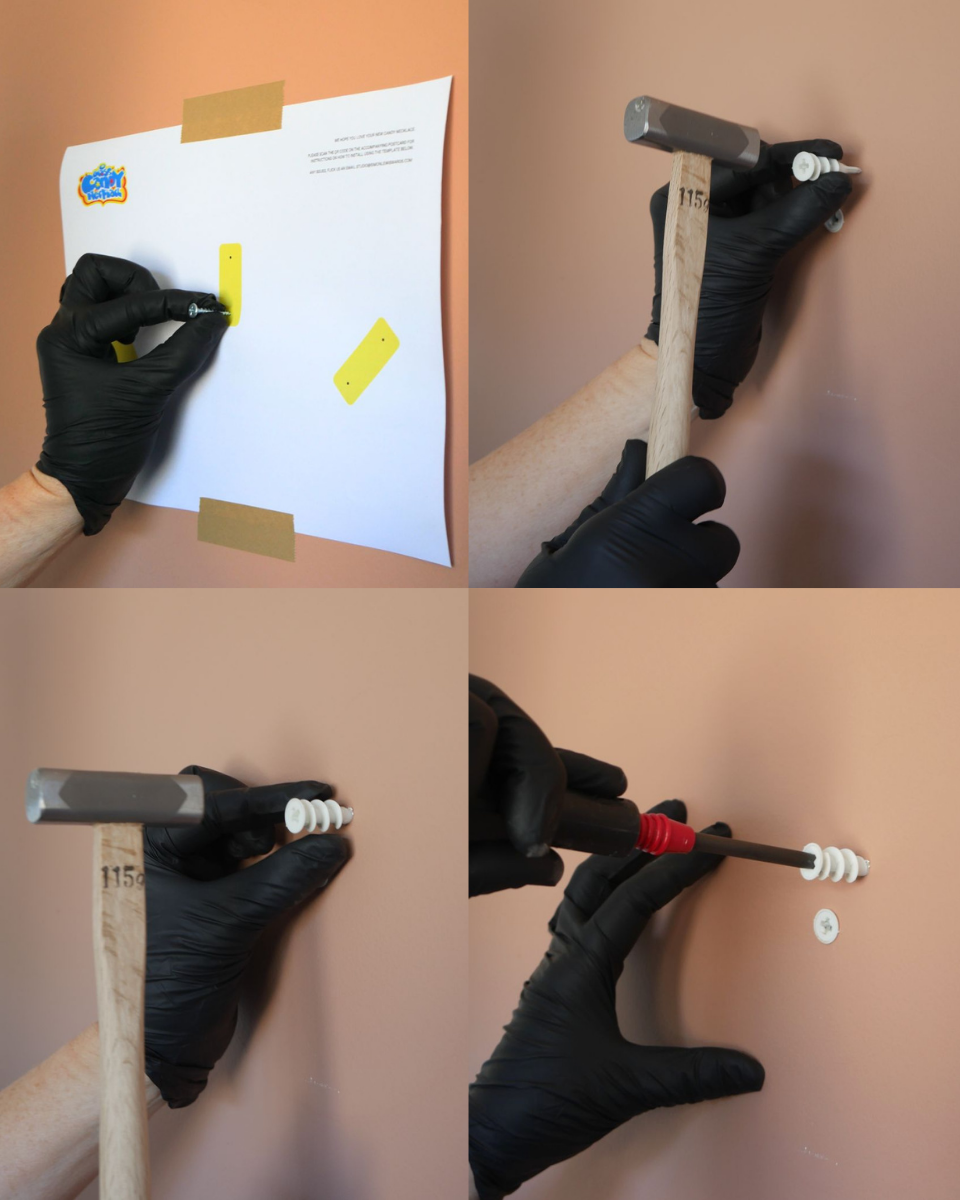
Steps one - four
1. Attach template to wall and push the tip of a nail into the 6 black dots in the yellow rectangles, ensuring you can see the marks on the wall once the template is removed. Check the holes on the white hooks line up with the marked dots on the wall, adjust if needed.
2. If hanging into gib, hammer wall plugs into the wall using the marks as a guide. Plugs must be completely straight. If hanging directly into a stud, you can jump to step 7.
3. Hammer wall plug in as far as you can.
4. Use a screwdriver to screw wall plug in.
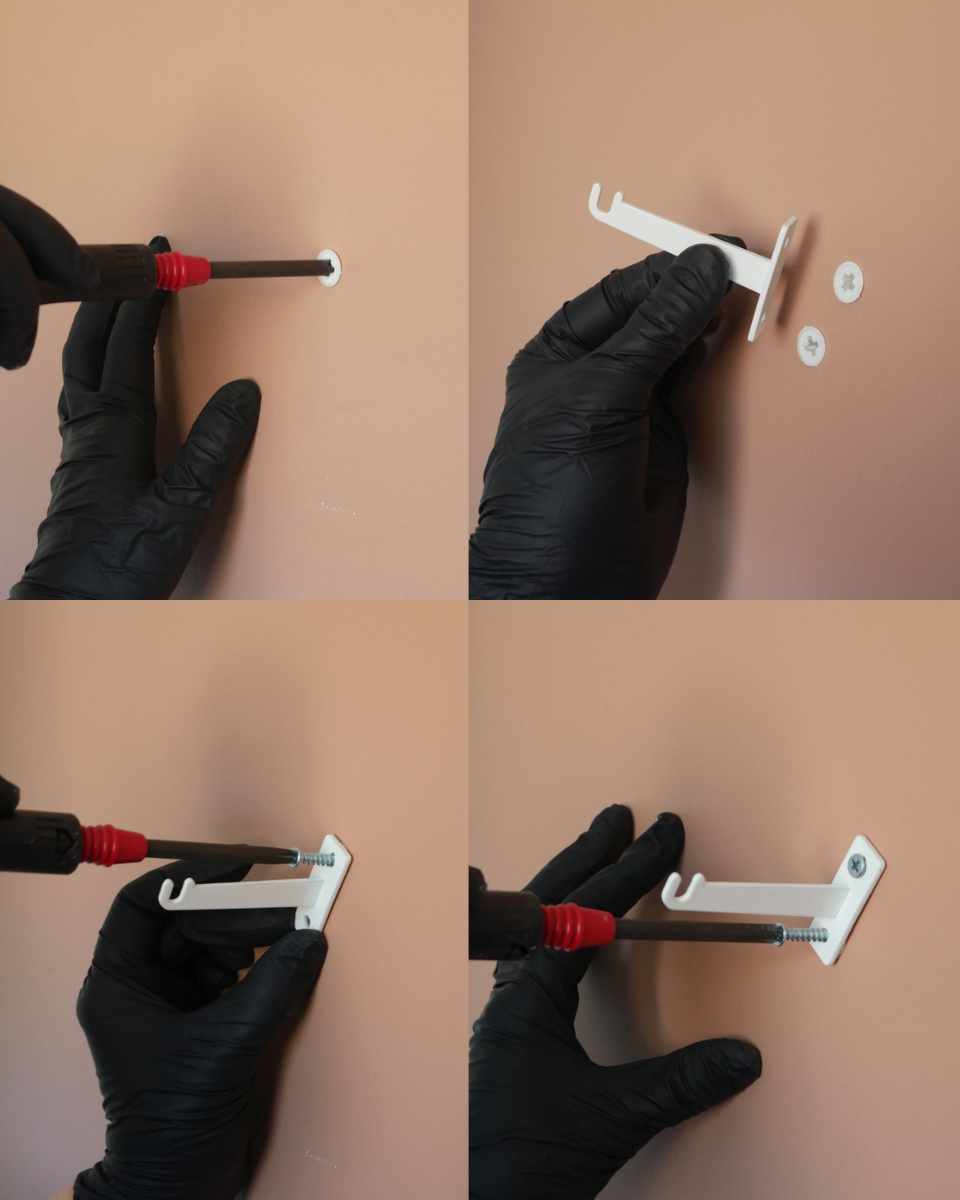
Steps five - eight
5. Once you're done, the flat circular top of the plug should sit completely flush with the wall. Repeat for all 6 plugs.
6. Check the holes on the hooks line up with the crossed in the wall plugs.
7. Secure the hooks to the wall plug/wall using a screwdriver.
8. Repeat for all three hooks.
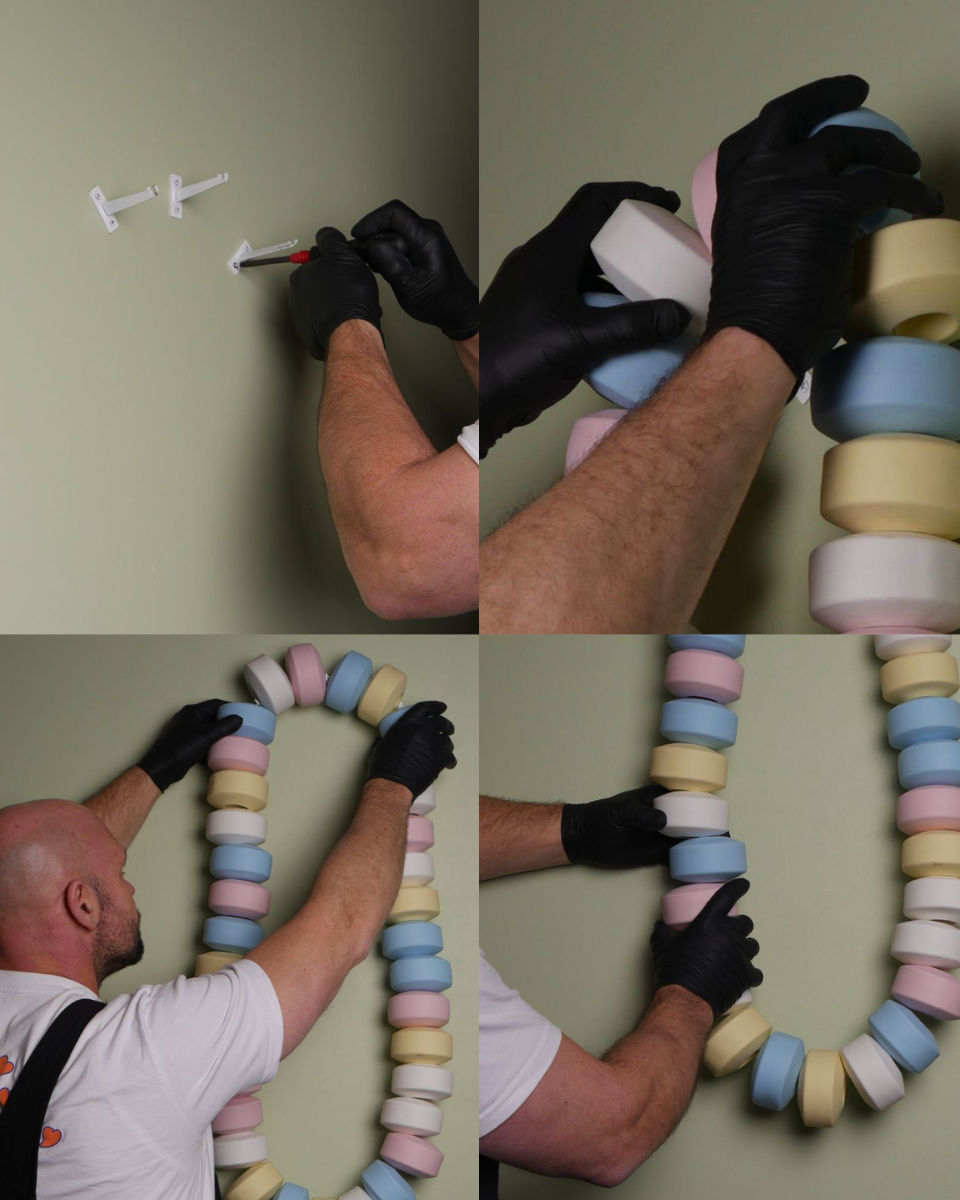
Steps nine - eleven
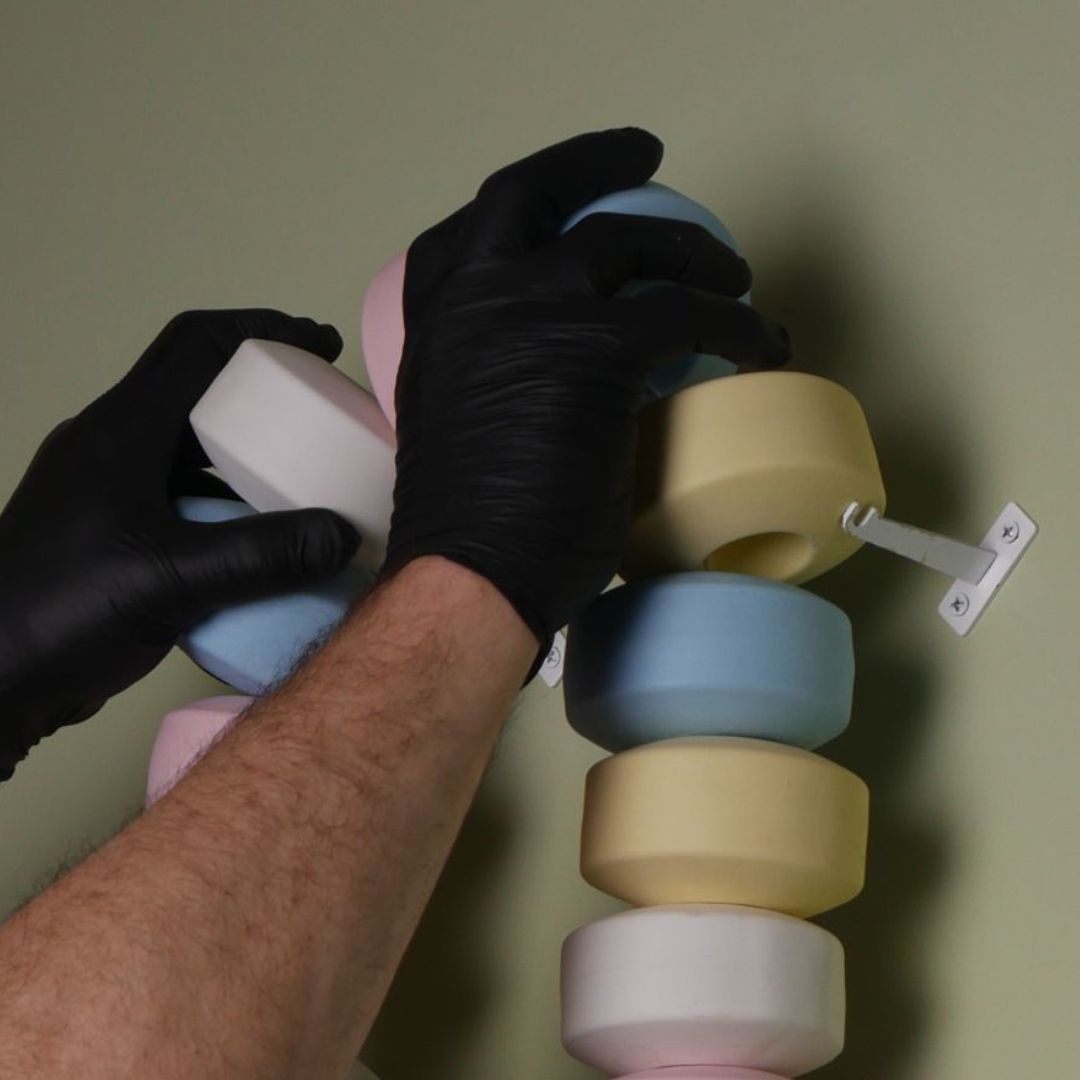
9. Hang the candy necklace, looping the cord over the middle hook first.
10. Hang the necklace over the hooks on the left & right, ensuring piece is symmetrical.
11. Ensure beads are all facing the right way. You will see a small flat area on each bead - this is the back and will sit flush with the wall.
Your installation is complete!