How to install
Jetplanes + Glo-Hearts
![What you’ll need](http://simonlewiswards.com/cdn/shop/files/SLWMarch2024_12.jpg?v=1714472101)
What you’ll need
Hanging kit & a Phillips screwdriver
You'll find the hanging kit (acrylic tube shaped spacer & a screw) in a paper lolly bag in the box along with your Jetplane or Glo-Heart
![Step One](http://simonlewiswards.com/cdn/shop/files/1._Jetplane.jpg?v=1714005845)
Step One
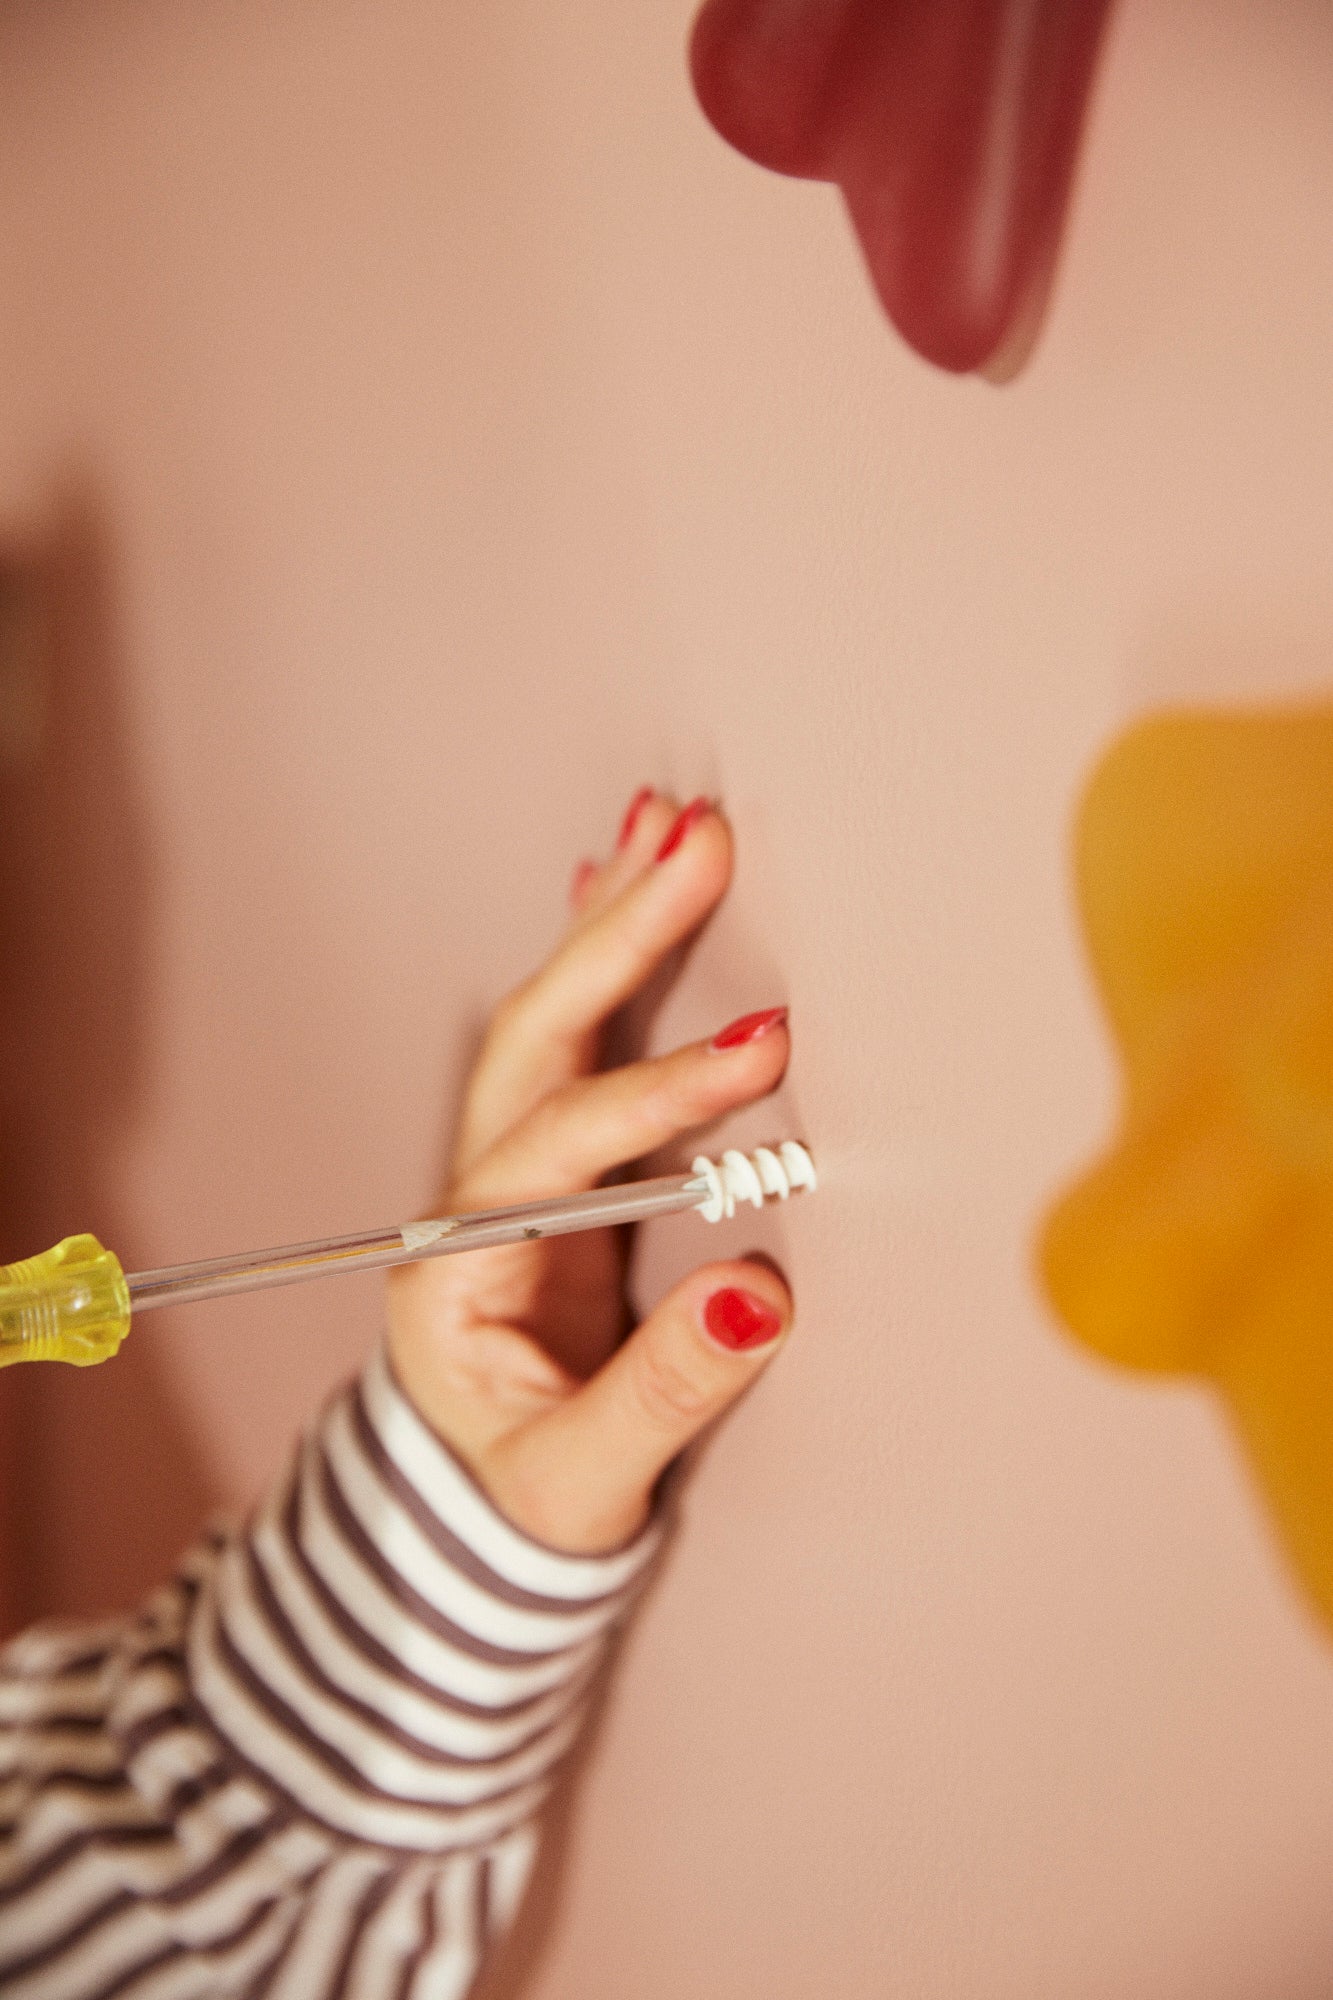
Ensuring the wall plug is completely straight, use a hammer to knock the tip into the gib where you'd like to position your Jetplane or Glo-Heart
Please note if you’re installing the piece straight into wood you don’t need to use the wall plug and can skip to step 3
![Step Two](http://simonlewiswards.com/cdn/shop/files/2._Jetplane.jpg?v=1714005845)
Step Two
Use a screwdriver to screw the wall plug into the wall
Once you're done, the flat circular top of the plug should sit completely flush with the wall
![Step Three](http://simonlewiswards.com/cdn/shop/files/3._Jetplane.jpg?v=1714005845)
Step Three
In your hanging kit you'll find a clear acrylic spacer with a silver screw sitting inside it
Using a screwdriver, screw the silver screw and acrylic spacer into the wall plug. If you're installing directly into a stud you'll screw the silver screw & spacer directly into the wall
![Step Four](http://simonlewiswards.com/cdn/shop/files/4._Jetplane.jpg?v=1714005845)
Step Four
You are now ready to screw your Jetplane or Glo-Heart into the acrylic spacer
Be careful not to use too much force or screw too tightly as this may damage the spacer
![Step Five](http://simonlewiswards.com/cdn/shop/files/6._Jetplane.jpg?v=1714005845)
Step Five
Position the piece at the angle you'd like
The hanging system is designed so the piece sits slightly off the wall. This allows light to shine through the translucent glass making the piece glow, & casting a shadow on the wall behind